

We have a dining room light.

It used to have sixteen flat glass panels suspended from a metal framework. Then one day, someone threw a tennis ball for the dog. (I won't say who, but I'm 95% sure it was me.) One of the panels fell onto the table and shattered. To make matters worse, we were working on a 1000-piece puzzle on that very table. It was a big mess. (The table still has a nick from where the sharp glass corner hit.)
Unsatisfied with a light fixture that was missing a piece, I took it upon myself to make new panels. Inspired by the look of punched tin pie safes, I decided to make something similar. I found some metal (I have no idea what we used it for; it's corrugated and white on one side) in our garage and cut it to match the size of the glass (4"x8"). I made a punch-out template on the computer and taped a copy to each metal panel. Then I got to work punching. It took awhile, but I got the job done.

I really wanted to spray-paint the gold light fixture white, but my dad and mom nixed that idea. It is their house after all.


Anyhow, I've digressed. I did all that a couple of years ago. Back to the present. I made some Valentine's Day themed panels. I saw an idea for greeting cards using crayon shavings and waxed paper, and I thought the same idea would work well for our light fixture. If I had known what a time- and labor-intensive project it would be, I probably would have skipped it. Initially, I thought I'd be able to use a paper-punching machine to cut out hearts, but I couldn't gain access to a heart punch. I know some people have Cricut or Silhouette machines; those would have simplified the project immensely. I did it the old-fashioned way: scissors. I used a paper cutter and cut out 32 4"x8" panels. (I used pink copier paper.) I took scrap paper, folded it in half, and cut out hearts until I got one I liked. I used that scrap heart and traced around it on one of the panels. I used a hole-puncher to make an opening for my scissors to fit into, and then I cut out the inside. I used that as my stencil for 16 other panels. I got smart and put two panels together and cut them out at the same time, so I wouldn't have to stencil or cut out 32 separate panels. With that done, I cut waxed paper into 4" squares. (I folded the waxed paper so I had cutting guidelines.)

I got my crayons out. Luckily they were in a box with a built-in sharpener.

I opened the bottom of the box and dumped out the old shavings.

I picked out crayons that were in the red color family.

I didn't use them all, but it was easier for me to have them all together to pick from.

I sharped the crayons and let the shavings fall on the back of a paper plate.

I spread out eight waxed paper squares and sprinkled on half of the shavings. (I also sprinkled on some glitter to see what would happen.)

I topped the squares with more waxed paper and covered everything with a paper towel. I used an iron to melt the shavings together.

Once the first batch was done and cooled, I repeated the process. (I didn't add glitter this time.) I recommend having newspaper or paper towels between the waxed paper and your table; it makes clean up easier.
One by one, I laid the waxed squares on top of the pink panels. I pivoted the squares so that the cut-out area had a good view of the melted color. I traced (free-handed) a larger diameter heart onto the waxed paper and cut the squares into hearts.
I pulled out the rubber cement, spread it over the pink panel, added the waxed heart, and topped with another pink panel.
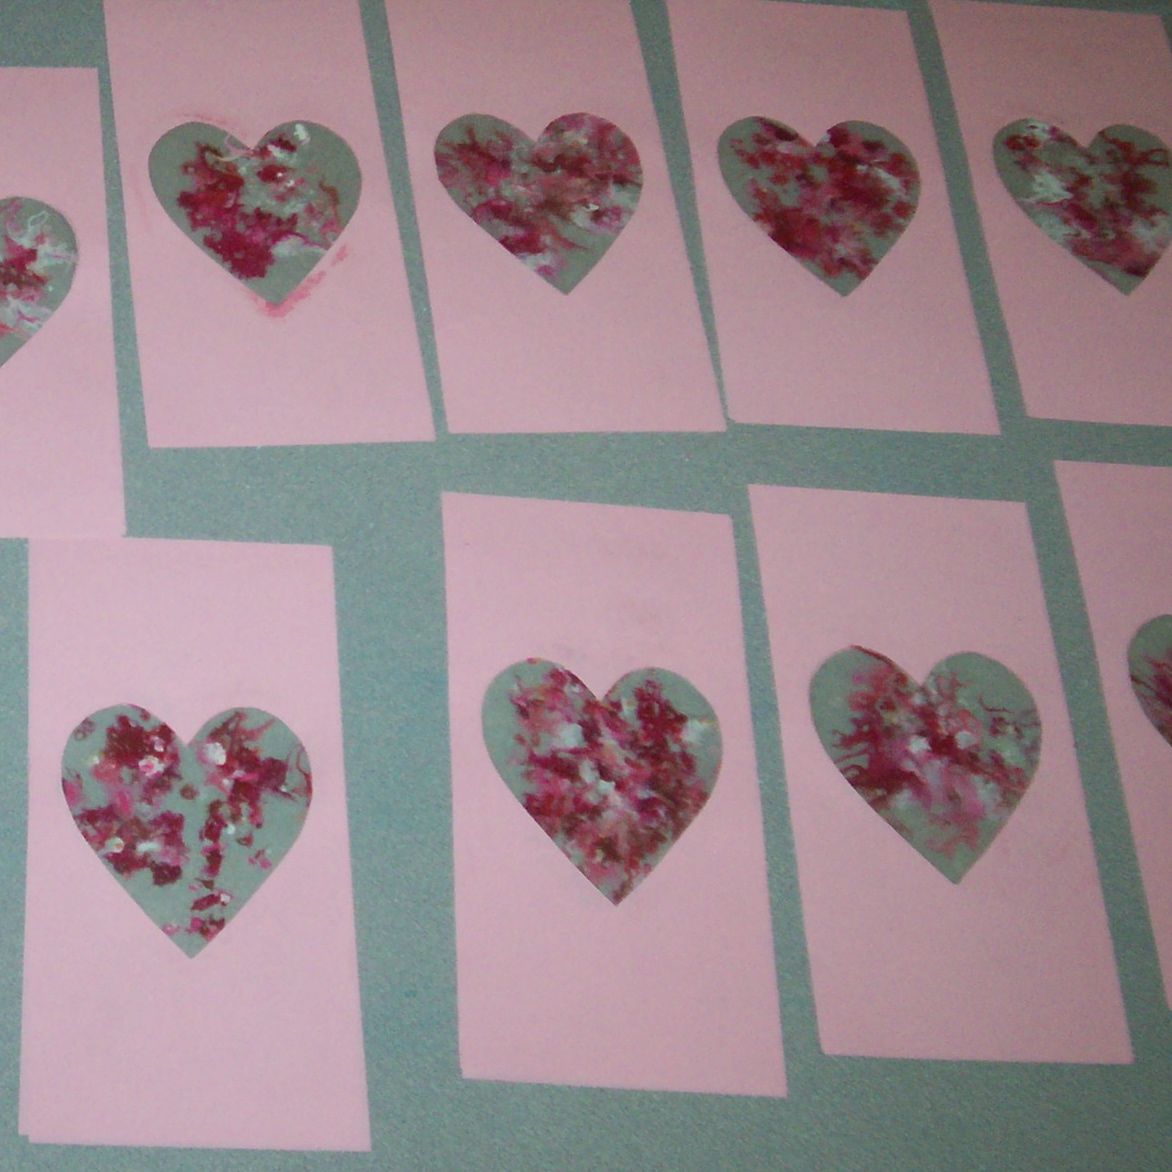
I did that sixteen times. (Have I mentioned it was a time- and labor-intensive project?) I used a metal panel to trace out where the hanging hole needed to be.

Then I realized my hole puncher would not reach that deep. I punched where I could, and then erased the trace marks. I rubbed off excess rubber cement and hung the panels.


Please note, I have no idea if this is a fire hazard or not. We use energy-efficient bulbs, which I think are cooler temperature-wise than traditional light bulbs. The paper panels do not touch the bulbs, so I think it's safe. I only point this out because my dad wondered about potential fire danger.
Linked to Funky Junk Interiors Chandelier Special


