Tuesday, December 7, 2010

Signs!

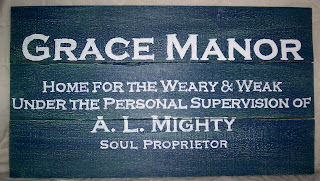
The name of a fictional bar in an unpublished novel

Scrapbook sheet, glued to metal

Scrapbook sheet glued to wood frame

American Flag

Hometown Team

Fun bakery name for the pie-challenged

I should have moved "A.L. Mighty" down to the next board

Trademarked soda product; hand-painted sign

This one is pretty big

Trademarked game; hand-painted sign


A key-holder!


More distressed than I intended in the corner


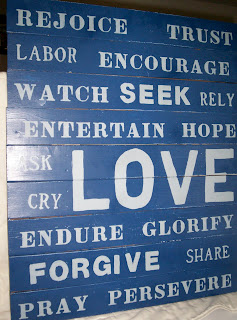
Here are the signs I made in anticipation of a local craft fair.  I only sold one.  :(  I don't have a fancy cutting machine for the fonts, so I carbon-traced some of the fonts.  Other fonts were stencils.  I had a lot of fun painting them!

Linked to Funky Junk Interiors!

Monday, April 19, 2010

Re-painted

Remember this?

I repainted it.  I sanded it down a little and primed over it.  Then I did this:
I plan on giving it to my sister as soon as she has a house that's not for sale or rented.  Until then, it stays with me. ;)

Thursday, April 15, 2010

Console Table

I built this.  I painted it.  I like it.

I didn't take step-by-step photos.  I used 1x2s, 1x4s, and 1x6s.  I also used a lot of wood filler.  I used a jig saw, a compound miter saw, and a circular saw.  The lumber cost just under $70.  The cost of nails, screws, wood filler, wood glue, paint, stain, etc probably brought the total cost to $120.  I got the drawer pulls off an old dresser; I spray painted them a caramel latte color.

It sits next to the front door.  It has lots of room for shoes, and the drawers provide a nice place for dog leashes, gloves, hats, etc.  I was again inspired by Ana's Knock-Off Wood site, but I designed a custom piece to serve my needs.  As I was painting it, I was struck by the thought that it would make a nice changing table for a baby.  Anyway, I drew up my own color-coded plans, and started building.
 

As I went along, I had to modify things just a bit, but as you can see, it worked out.

It was a happy accident that the electrical outlet is still accessible.

Monday, March 1, 2010

The Headboard

I wanted this:

Emboldened by Ana at Knock-Off Wood...

I built this:
 

I modified Ana's plans.  I changed the width to better fit my mattress.  I used plywood instead of planks and I put a 1x6 on top instead of a 2x6 to better duplicate the bed I wanted to emulate.  Since I'm prone to stubbing toes and running into things, I skipped the footboard.  I just attached the headboard to the metal frame that came with my mattress using 4" bolts.

Here's my material list, with prices:
2-4"x4"x8'         2@$8.77          $17.54
1-1"x6"x8'                                  $10.96
2-1"x4"x8'         7.28/2.47          $9.75
3-2"x4"x8'         3@$2.58          $7.74
1-1/2"x4'x8'                                $24.12
Minwax wood conditioner         $4.99 (pint)
Minwax Jacobian wood stain     $6.49 (quart)
Gorilla Wood Glue                     $4.99
3" wood screws                        ~$7.49
4-4" metal bolts                        ~$3.16 (should have used 4-1/2")
3/8" countersink bit                    $3.69
6% tax on $100.92                     $6.06

Materials on-hand: screws, finishing nails, acrylic paint, Minwax polyshades, foam brushes, nuts, washers, drill bits, tools
Total cost:                                  $106.98

I'm pleased with that price.  Pottery Barn sells the king bed (headboard, footboard, and siderails) in the top photo for $1399 and lets you choose between two finishes.  Their version is mahogany and a mahogany veneer.  I used a combination of whitewood and pine.  Their delivery charge is $150.  Mine was less than the delivery charge.  How awesome is that?!

I'll post step-by-step photos within a couple weeks.  I work slow (and alone), but I was able to finish the cutting and building in two days.  Staining and finishing took a bit longer.  I began Tuesday morning, and the headboard was moved into my bedroom on Sunday afternoon. :)

Here it is in place:


Thursday, February 4, 2010

A Mirror Project

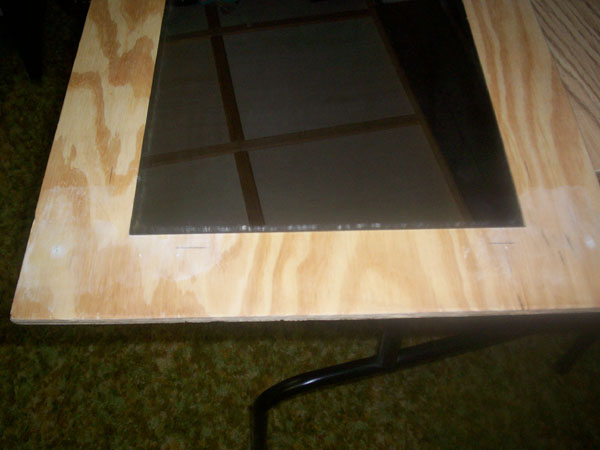
I originally planned on making this idea into a headboard, but since my landlord nixed that idea, I re-invented the idea.  We had a mirror hung onto a sheet of plywood using mirror brackets, and the plywood was screwed into the wall.  I forgot to take a before picture with it on the wall; it was functional but not fun.  Since I have issues with photos and text in blogger, I'm just going to post the photos without comments.

 
If you have any questions, leave a comment or e-mail me.

Friday, January 22, 2010

Great game board storage art - a link

If you've ever been annoyed by ripped/bent boxes or irritated by digging under a pile of boxes to find the game you want to play, check this out:


 Beckie at Infarrantly Creative created it. Here's the link: http://infarrantlycreative.blogspot.com/2010/01/game-board-storage-art.html

Wednesday, January 20, 2010

Not every idea will work...

So I bought these glass gems at Hobby Lobby at 50% off:

I was inspired by this:

I have a mirror (12" x 48") whose cheap plastic frame broke.  I figured I'd buy a sheet of plywood, cut out a piece 24"x76", and make a headboard.  I bought some flush-mount brackets last summer, anticipating a headboard project.  When I described my idea to my landlord, aka "Dad", he took one look at my brackets and killed the project.  He didn't think the brackets would attach to the studs properly.  He has a valid point...  As soon as I can figure out a smart alternative, I might get the project done.